Lily, 15 x 9

Lily 15x9

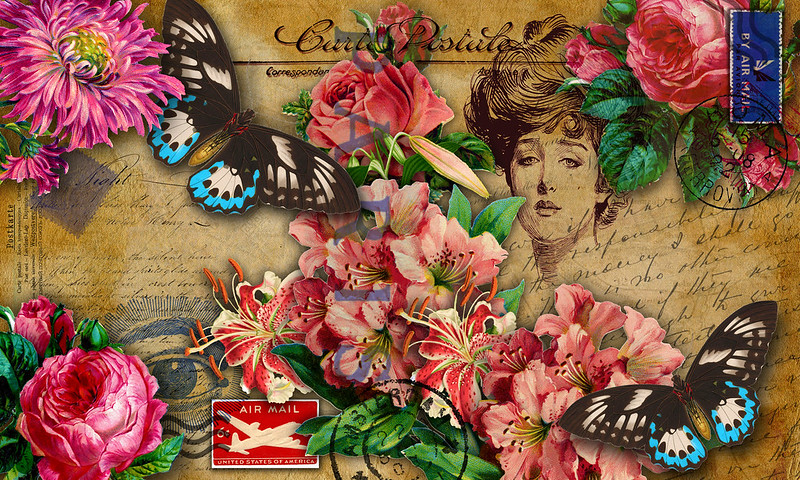
As a variation on a theme to another image posted here, I thought to go a little bigger. This was made to cover the largest of the Moleskine Cahier notebooks, the 7.5″ x 9″. Of course, that means the wrap-around cover would be 15″ x 9″, as the title suggests. It’s a little oversized for a home printer, but I hope it can be done at a Kinko’s or an office supplies store with printing services.

To visualize it as a book cover, align the edge of a sheet of paper along the empty space between the words “Carte Postale” at the center top, where the spine of the notebook would go.

Details:
Software: CS4 Extended
Resolution: 300 dpi
Size: 15 x 9 inches

Image credits:
The Graphics Fairy: aged paper background, florals, stamps, all-seeing-eye, handwriting, post card, and butterflies; public domain
doverpictura.com: Gibson girl image, royalty free
Creative Market: Antique Maps, by Greta Ivy; It’s extremely faint but it’s in there. Used with extended license
2 Lil’ Owls: grunge background, purchased as part of a 3rd-party bundle with extended license

All images in public domain or used with extended license permissions/royalty free permissions.

Oksana’s Quarters, July 2013

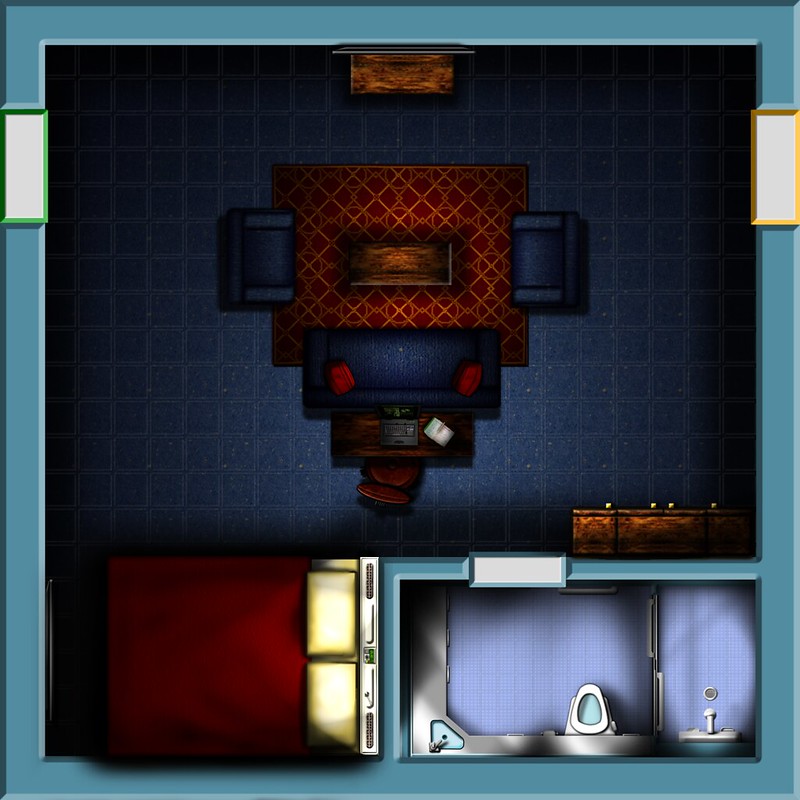
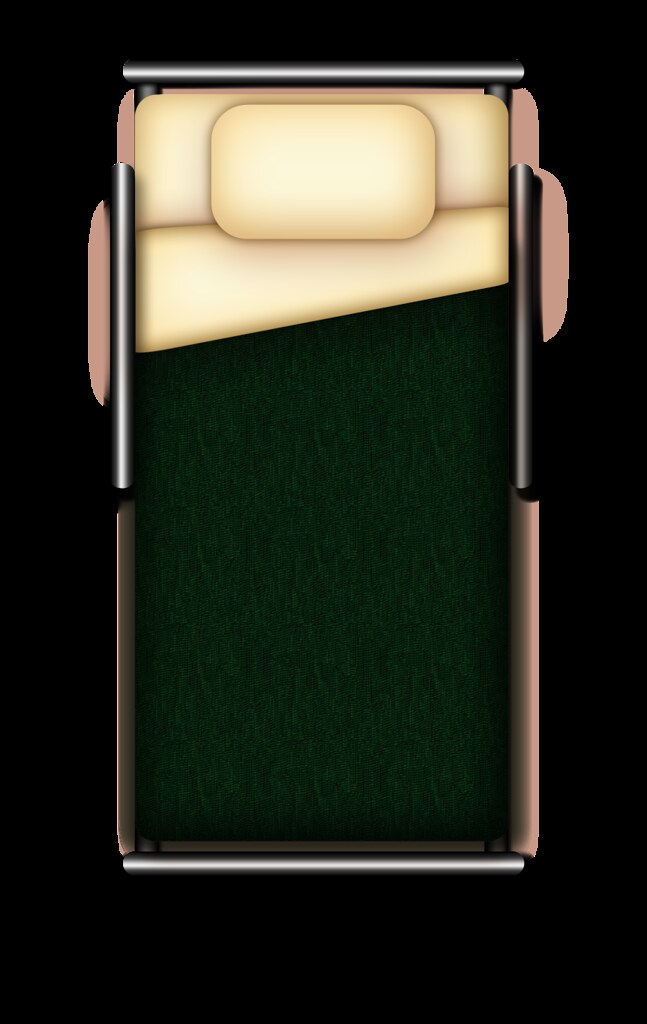
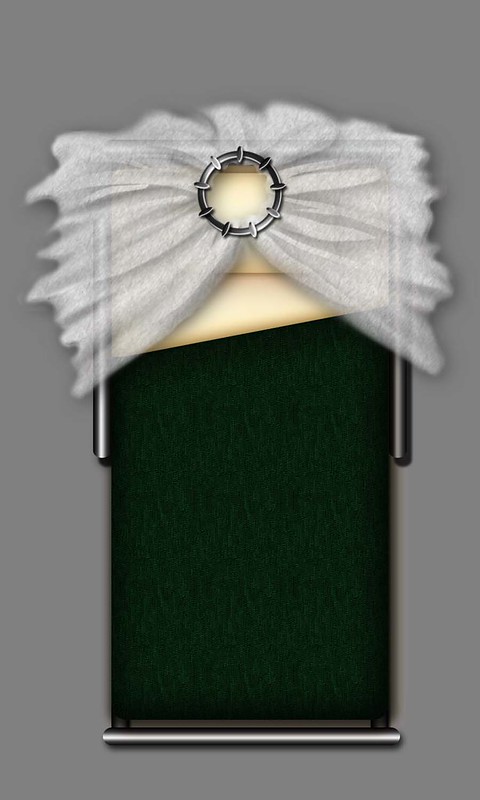
Jumping ahead by a significant margin, here is another attempt at game mapping. It was for another sci-fi RPG campaign I was playing in. These are my character’s quarters.

If I were to do this again, I’d brighten up the overall lighting. At the time I thought it looked moody and atmospheric a la Star Trek: The Next Generation. Looking at it now nearly three years later, it just looks dark.

At least I learned my lesson and went large on both the dpi and the size.
 
 
Oksana' s Quarters
 
 
Details:
Created on CS4 Ext.
ResoutionL 300 dpi
Size: 1350 x 1350px
Elements: The furniture, walls, etc. are scratch-built in Photoshop for the picture. A few elements like the area rug, laptop, and the notebook and pencil images were cadged from the internet. The printing ON the notebook pages is a brush from a set made by The Krakograph. When I’ve managed to hunt down the link to the brushes, I’ll update the post and paste it here.

Update: After some rather hard searching, my documentation on the brush set is no longer of any use. The brushes are no longer being offered at brusheezy.com where I originally got them. The website link I pasted to my doc takes me to a site that is no longer active. The brush artist, “the Krakograff”, has also taken down his/her deviantart site, which is a shame because the resources there were simply beautiful.

Such a shame.

Update 2.0:
Of course, it’s obvious that an open toilet holding water is a liability on a spaceship, right? I admit, it didn’t occur to me at the time. I was more interested in getting across the idea that the thing was a toilet and not so much the idea that it was a spaceship-safe toilet. If I were to do this over again, I’d rethink my graphic for it. Live and learn!

Also: I’m jealous of this bathroom. It’s nicer and bigger than mine. Oh well, what else is fiction for, but to indulge a little wish fulfillment?

Early Efforts at Game Mapping

Someone was kind enough to leave a comment inquiring about my work. Here are a few of my early efforts at making dungeon map objects, or so they were called when I stumbled across Dundjinni.com, a forum that specialized in making them for fantasy gaming.

(Although would you still call them dungeon map objects if they’re used in a sci-fi setting? I settled on the term “Game Map Objects” but am not entirely convinced it suffices. What say you, gentle readers? What would you call them?)

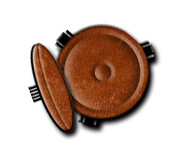
I’ve a chair, a simple office task chair that I ginned up using a leather swatch I found online. Hideously blown up, of course. At the time, I had barely an idea what dpi was much less what to do with it. 72 dpi seemed as good as any other so when I made this at 200 dpi (OMG 200!), I thought I was really pulling out all the stops.

Sigh.

If only I thought to make it more than 200 pixels on a side.

The leather chair was simply a round selection copied over and oval-selected/cut/pasted and then pillow embossed with the fill set to 0%. That gave me the seams without actually having to see where the pasted selection overlapped. It worked reasonably well. I remember being thrilled to discover the fill and the pillow emboss settings.
 
Leather Task Chair          Upholstered Couch          Upholstered Chair 
 
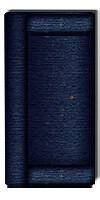
The couch and the upholstered chair are really simple pieces made out of a fabric swatch I found online. Just cut to shape, add a bevel/emboss to it (but play with the contour), and construct it out of the shapes. It’s like Lego bricks, really.

And it shows in places. I did what I could to soften the blow by painting in shadows with a soft diffuse brush, but … They are all very much learning curve pieces.

Next up, I take a stab at making a deck plan with all the fiddly bits I’m fond of: furnishings, textures, and surfaces. Look for the post soon.

Thank you for visiting!

Details:
Created in CS4 Extended; 200 dpi; texture swatches cadged from internet

Adventures in Photoshop: CS4 64 bit vs. 32 bit

GRAH! CS4 64-bit! WHY!!!???!!!

Apparently CS4 Extended 64 bit doesn’t play nice with the some of the filters. Rather like an ungrateful date, the floozy flounces off and refuses to acknowledge the filter it came to the party with. The poor filter’s heart breaks and Photoshop crashes on me.

The filters: Filter > Render > Lens Flare and/or Lighting Effects.

And wouldn’t you know it? THOSE TWO are the ones I use to add realism to my space art and my deck plans. Sunrise over a planet? Lens Flare. A beautifully lit room in plan view, with a spotlight on the couch? Lighting Effects.

HEADDESK!!!

To be sure, I ran the CS4 Extended as the 32 bit version just fine on my old machine (Vista Home Premium 32 bit) and though my deck plans and my space art made it slow to open and save any files that approached the 100MB mark, it still ran.

I would sometimes have to wait out a long pause, is all.

CS4 Extended automatically installs both in one go–very handy–and this means you can use both on your machine. So when I installed CS4 Extended on my new machine, I thought I’d give the 64 bit version a try. On my old machine, CS4 Extended 32 bit has about a 3.2GB RAM limit it can access and use.

(Why? I dunno. If it’s there and the processor on your machine can handle it, why not use more? But I digress … )

In comparison, CS4 Extended 64 bit will use as much RAM as you can throw at it provided the processor/Windows version you have is 64 bit as well.

(I am and it is.)

So I thought with CS4 64 bit my lag times in opening/saving/some commands were over.

They were.

Until I had to use those filters.

I really didn’t get the clue until I decided to manually open the 32 bit version to see if I had the same problem with it on my new machine. Perhaps I flubbed the install? Maybe there was something incompatible with Windows 7? Will I need to uninstall and reinstall?

Opening the same file in 32 bit + trying to use the filter = total success.

So, 64 bit had to be the culprit.

5 minutes of internet searching later yielded information and more importantly–a fix.

Keep your fingers crossed for me. I’ll see if it will work over the ensuing week.

Until then, I’ll just use 32 bit. I didn’t notice any lag on opening one of my 200+ MB files, so I may not need to try that fix but still … there may come a day when I need to use as much of the 16 GB RAM my machine came with as Photoshop can scarf down its greedy gullet.

Even though it’s incredibly gouche of your date to do that at the buffet table.

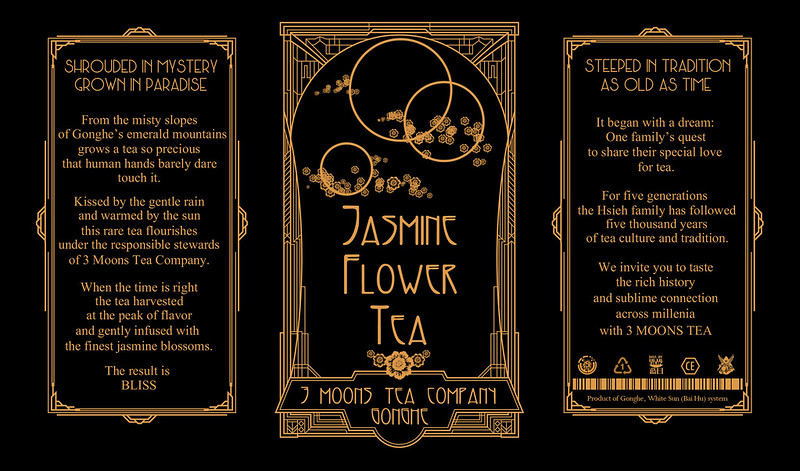
Three Moons Tea

Every once in a while, I get nostalgic for a little sci-fi western show that got cancelled halfway through its first season. I lie awake at night thinking of what might have been and what it might have looked like.

It’s a contents of the refrigerator, color of the carpets kind of thing.

When it happens, I do stuff like this:

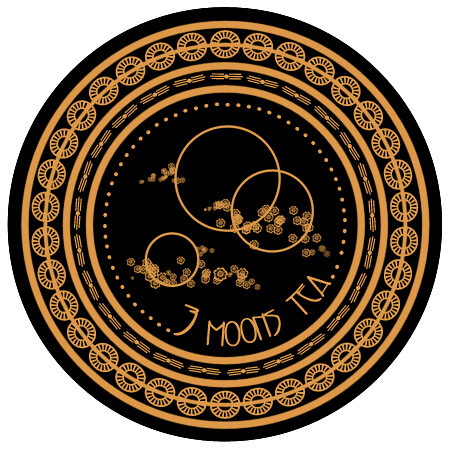
Three Moons Tea lid label

And this:

Three Moons Tea label

The large label is sized to wrap perfectly around a Republic of Tea can and the round label at the top is sized to go on the lid, Republic of Tea fashion.

Fonts:
Times New Roman
Adresack
Metropolis Ornaments

Art Deco Frame:
Art Deco Frames and Backgrounds, Vol.2 (I love this artist’s style and his Photoshop products are top notch.)

Software: Adobe Photoshop CS4
Image Resolution: 300 dpi


Little Blue Planet

Planet001

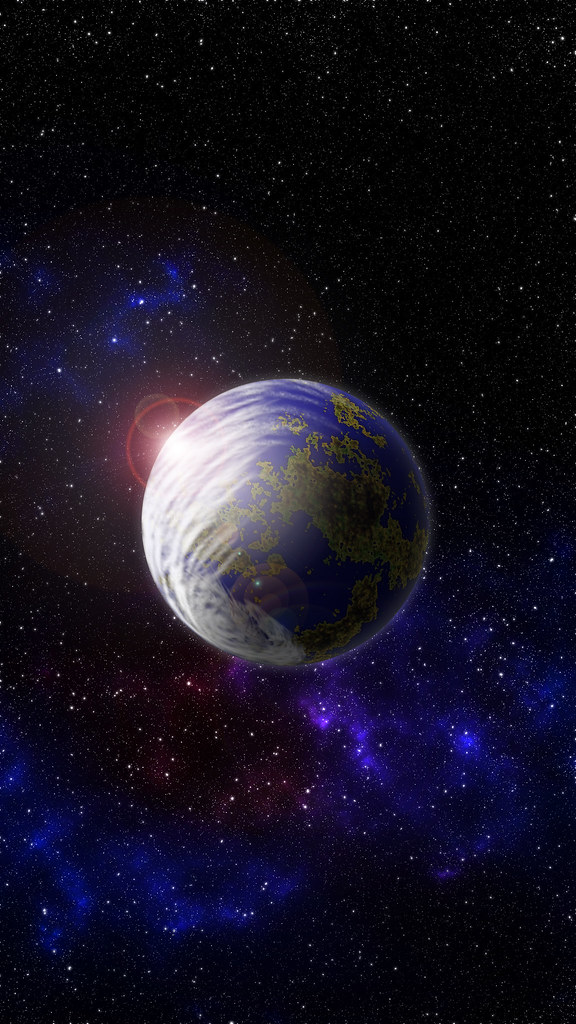
This was a fun little piece. Of course, by the time I made this one, starfields were dead easy. I wanted to see if I could make a planet with realistic land formations without having to shell out money to buy software specializing in planet making.

So I grabbed a picture I’d taken of some random stone texture and played around with layer adjustments and blend modes to make the crinkly land texture, then saved it as an image.

After that, it was pretty straightforward, like following a recipe:

(Paraphrasing here….)

1. Make a blue dot in a new Photoshop document
2. Select a range of colors from the texture image I made and paste a copy of it on a separate layer above the blue. Crop where needed.
3. Merge the layers. Sphereize.
4. Make a separate Photoshop document.
5. Choose a rough brush, set foreground color to white, and make some broad swirly strokes. Distort by swirling, add motion blur, and voila! Clouds!
6. Transfer cloud image layer to the planet doc, putting it on top of the merged blue/land texture layer. Sphereize cloud layer.
7. Group all the layers into a group folder to use later.
8. Turn off background image. Make a thumbnail image all layers. The thumbnail will have only the planet and clouds on it. Turn background image back on.
9. On the thumbnail image, make atmo by adding outer glow, inner glow, inner shadow. When it looks good, make another thumbnail of all the layers.
10. On this new thumbnail, add a lens flare for a finishing touch. It’s not necessary but I like the effect.

I haven’t made any more, but maybe I’ll get back to it. When I do, I’ll post them here.

Details:
Software: Adobe Photoshop CS4
Image Resolution: 300 dpi


Blue Atmo Horizon

Planet_w_Horizon

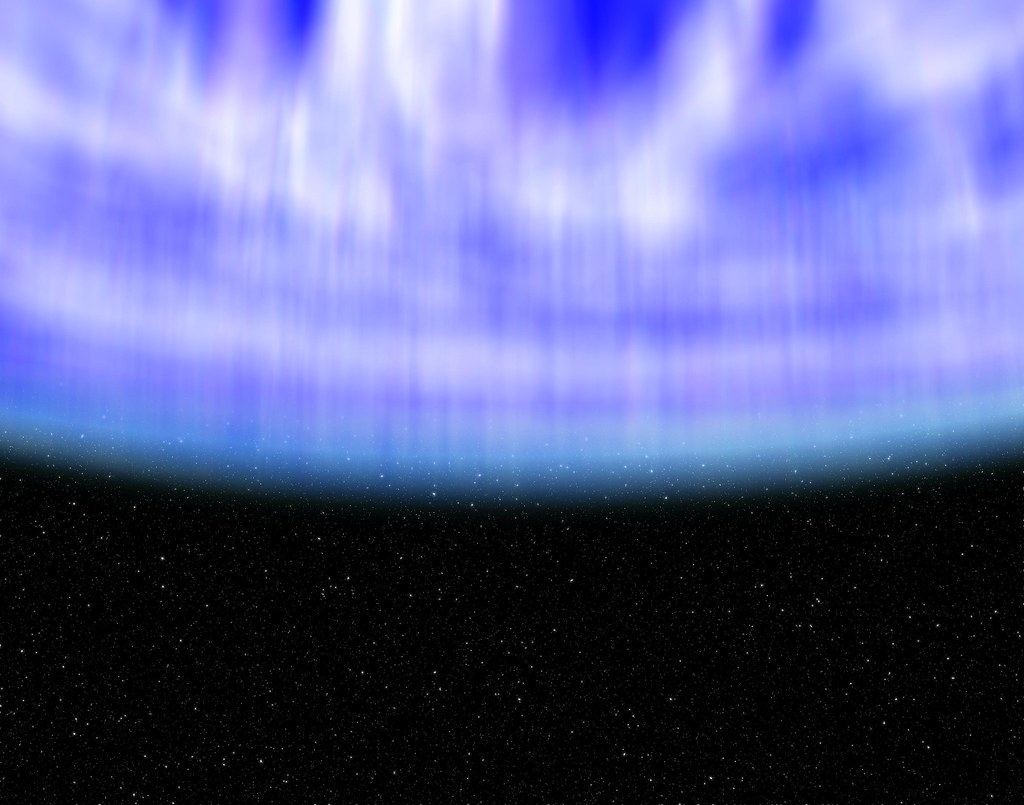
Yet another image made in Photoshop, primarily to see if I could do it. There’s some Motion Blur going on there, as well as something else I can’t quite remember what to call it. Something odd, which was what enticed me to try that online tutorial in the first place.

Sigh …

I really must cultivate the habit of documenting my work flow.

Details:
Software: Adobe Photoshop CS4
Image Resolution: 300 dpi